Skip to content
How to Find the Perfect CS:GO Mouse Sensitivity
Share
Explore

icon picker
CS:GO Mouse Sensitivity: The Best Settings for Your Mouse

Click mo' betta
With the COVID-19 lockdown, I've been trying to get back into Counter-Strike: Global Offensive. It seems like a lot of others have the same idea.
Screen Shot 2020-04-29 at 2.43.50 PM.png
Not having played for several years, my in-game aiming skills are far from a professional player. I bought a new mouse and figured now would be a good time to figure out the ideal mouse settings and sensitivity before I get used to one that doesn't work for my style of gameplay in the long run.
I came across this video from that has good step-by-step instructions on how to pick the best mouse sensitivity that works for you. Give the video a watch, then use this doc to find your perfect game settings, mouse DPI (Dots Per Inch), and mouse movement speed and sensitivity, no matter if you're playing CS:GO, Apex Legends, Valorant, or any other FPS game.

Step 0: Reset this doc so you can add your own data

Before you begin, press this button to clear out my data so you can add your own.
Clear data
If you want to save your results, make a copy of this doc. If you don't want to save your results, you can just use this doc in play mode.

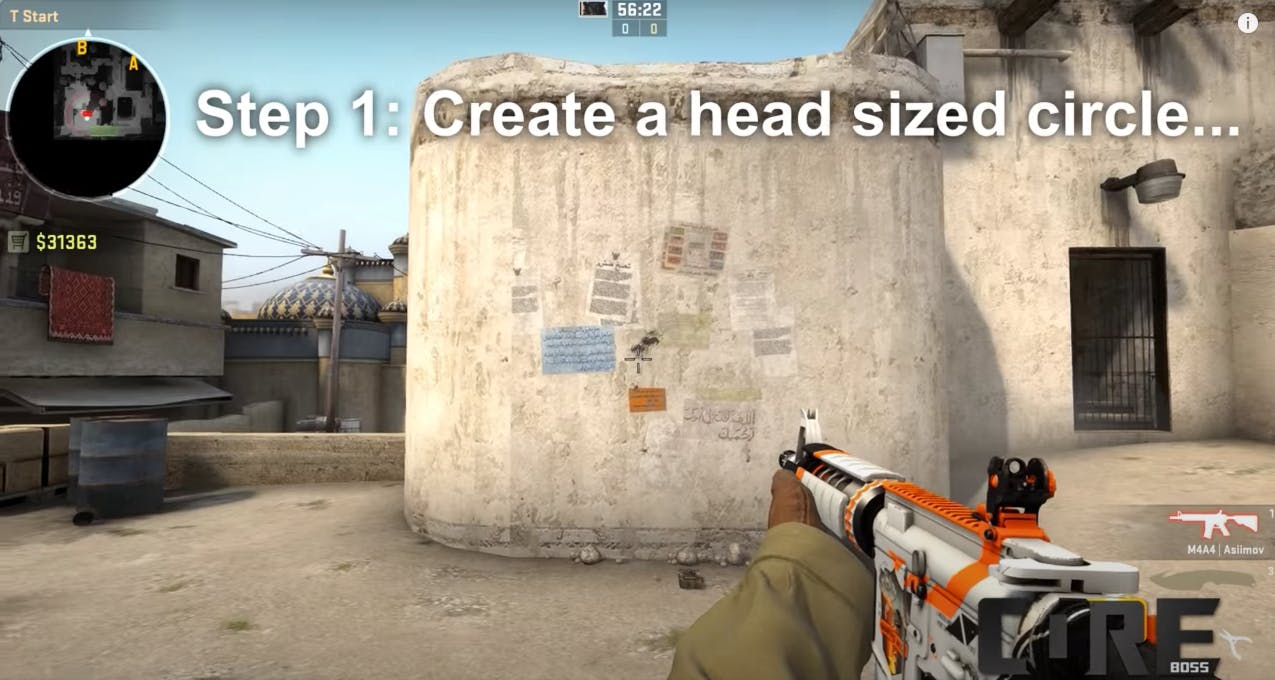
Step 1: Set up a target

Screen Shot 2020-04-29 at 2.07.17 PM.png
Go to T-spawn on de_dust2 and create a target to practice your aiming with the crosshair and to improve muscle memory.
If you need to download a practice config script, you can find one here:

Step 2: Set sensitivity equal to a 360° on your mousepad

image.png
Most CS:GO pro and other esports players stick to the same default Windows mouse settings (6/11 for Windows sensitivity), but that is just personal preference. Start by finding the mouse acceleration sensitivity at which you can do a single 360° rotation on your mousepad, starting from the far left edge and going to the far right edge.
Add your 360° sensitivity in the column below, then click the "Set starting points" button.
Initial sensitivity
0
360° sensitivity
dpi
Set starting points
1
1.30
800
Set starting points
There are no rows in this table
1
Count
The dpi column isn't required. I've included it here so you can keep track of how it's set currently so you can adjust if you change your DPI later.
Initial values
1
Low
Medium
High
1
0.65
1.30
1.95
There are no rows in this table
1
Count

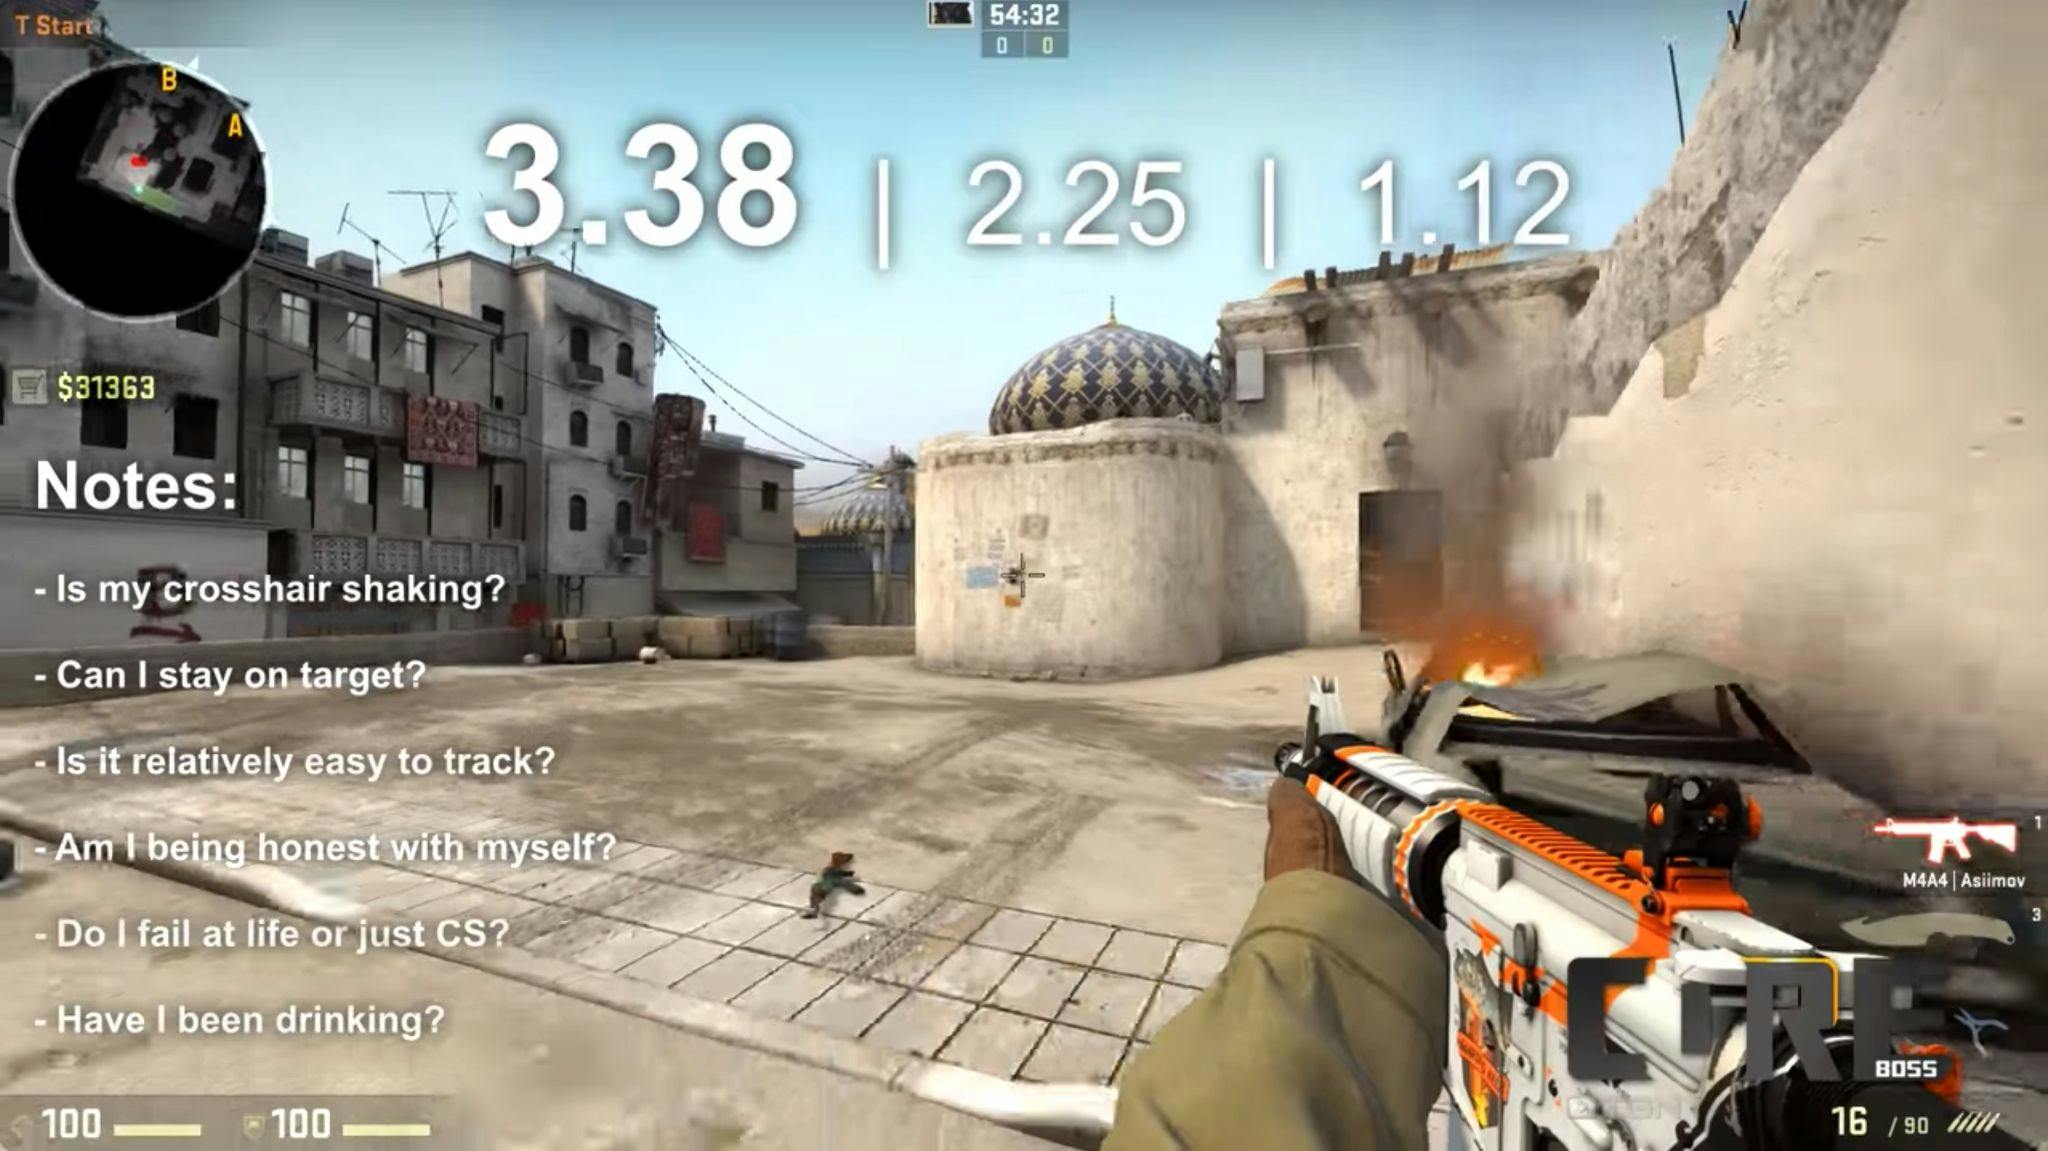
Step 3: Get ready to take notes

Screen Shot 2020-04-29 at 2.15.45 PM.png
Conveniently, this doc serves as both paper and calculator.

Step 4: Calculate initial sensitivities

Screen Shot 2020-04-29 at 2.19.57 PM.png
Steps 4 - 6 will test coarse sensitivity settings.
If you distill these 3 steps, they are all really just one step. Step 4 is just calculating initial bounds based on your 360° sensitivity. The upper and lower bounds are auto-populated when you click the "Set starting points" button in Step 2.

Step 5: Test high and low sensitivity

Screen Shot 2020-04-29 at 2.21.00 PM.png
Screen Shot 2020-04-29 at 2.22.51 PM.png
Step 5 is comparing the different game sensitivity values on your gaming mouse against each other. You want to spend 5 minutes with the high sensitivity and see how well you can track the target while moving, then do another 5 minutes with the low sensitivity.
In the video, the middle sensitivity is never tested, so I've omitted it from the tables below.
Low sensitivity to test:
0.65
High sensitivity to test:
1.95

Step 6: Pick high or low sensitivity

Screen Shot 2020-04-29 at 2.24.08 PM.png
Once you've spent 5 minutes with both the low and high sensitivities, pick the one that felt more accurate. Then, continue on to steps 7 and 8.
Coarse sensitivity calibration
1
Low
Medium
High
Low is more accurate
High is more accurate
1
0.65
1.30
1.95
Low is more accurate
High is more accurate
There are no rows in this table
1
Count

Step 7: Continue testing low and high sensitivities

Screen Shot 2020-04-29 at 3.11.25 PM.png
Steps 7 - 8 are focused on honing in on your ideal sensitivity.
Using the table below, keep testing the low and high sensitivities, spending 5 minutes on each one. Once you feel that one is better than the other, pick it and a new set of sensitivities will be created for you.

Step 8: Finish when you can't tell the difference

Screen Shot 2020-04-29 at 3.09.41 PM.png
Once you can no longer tell the difference, press the "Both feel the same" button. The average of the two values is your ideal sensitivity. Congrats! 🔫
Fine sensitivity calibration
0
Low
High
Low is more accurate
High is more accurate
Both feel the same
1
0.33
1.30
Low is more accurate
High is more accurate
Both feel the same
2
0.65
1.30
Low is more accurate
High is more accurate
Both feel the same
3
0.98
1.30
Low is more accurate
High is more accurate
Both feel the same
4
0.98
1.14
Low is more accurate
High is more accurate
Both feel the same
5
1.06
1.14
Low is more accurate
High is more accurate
Both feel the same
6
1.06
1.10
Low is more accurate
High is more accurate
Both feel the same
There are no rows in this table
6
Count

Ideal sensitivity:
1.0765625


CS:GO Mouse Sensitivity FAQs

Here are the answers to the most common CS:GO mouse sensitivity questions.

What is the correct mouse sensitivity?

There isn't a specific mouse sensitivity that works for all people, it's mostly a matter of personal preference. Set the in-game sensitivity to 1.0 or as low as it is possible and increase your DPI settings for better cursor performance. Some of the best CS players stick to 400.

Why is my mouse sensitivity so low in CS:GO?

This is a bug that was recently discovered by CS:GO players. To fix it, open the settings in your Steam account. Click on the in-game tab and uncheck the "Enable Steam Overlay while in-game". Until Valve finds a way to fix this issue, this should work.

How do I find my perfect sensitivity in CS:GO?

Follow the steps in this guide to find your perfect mouse sensitivity. In a nutshell, you will need to set up your target, set your 360 sensitivity, test your coarse sensitivity, and then hone in on your ideal sensitivity. Follow Steps 0-8 in this guide and you’ll get there!

Want to print your doc?
This is not the way.
Try clicking the ⋯ next to your doc name or using a keyboard shortcut (
CtrlP
) instead.